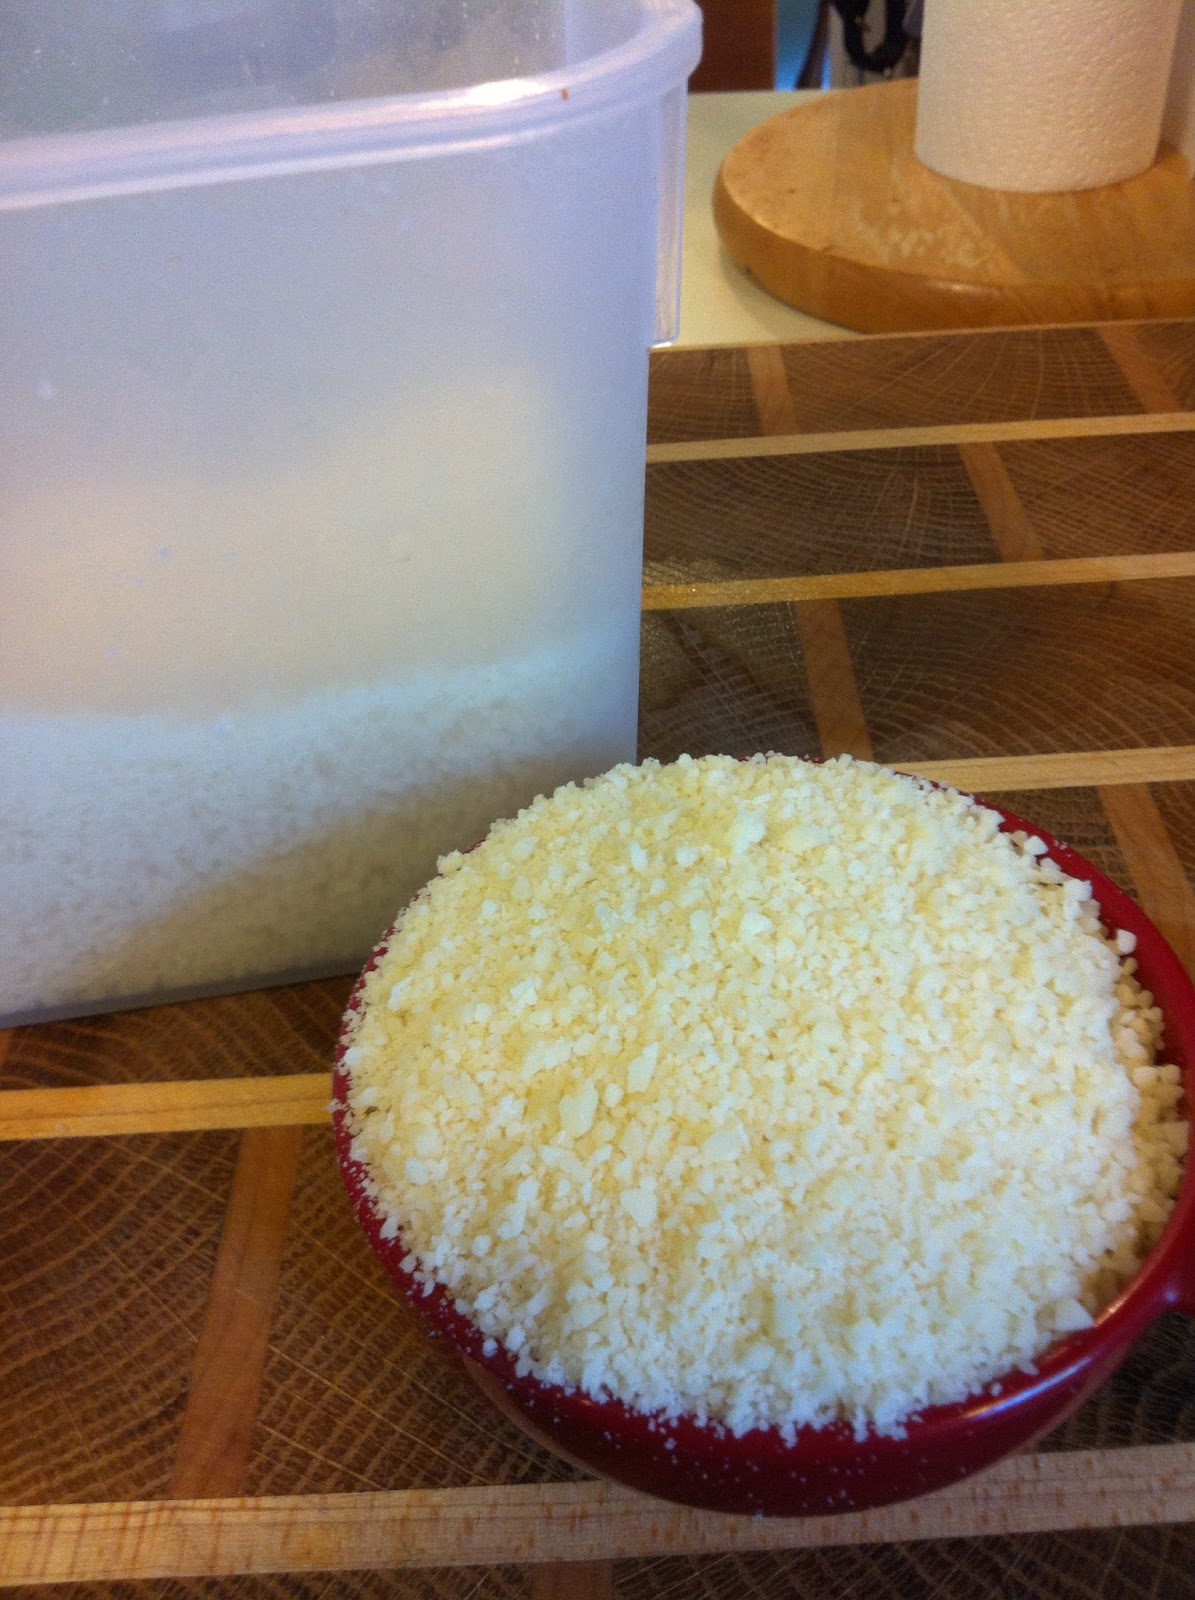
The beginnings:
Showing posts with label tutorial. Show all posts
Friday, August 8, 2014
A Summer Wreath
Monday, April 28, 2014
DIY Plant Markers

Thursday, November 21, 2013
DIY Baby Gifts
I posted a tutorial to make burp clothes once before and while it is way off of my normal topic, it was one of my most popular posts. I had a few baby showers to attend in September. We celebrated my friend Terra with a sprinkle for her 2nd baby girl and my good friend Megan of Home Grown Hand-Me-Down is expecting a baby in December whose gender will be a surprise. My coworker, Rachel, was due in September as well. And, I also wanted to send something to my sorority sister Stacy, way down in Arkansas, for her new baby boy I made them each some of my burp clothes.
Second, I made some newborn baby hats. I cannot claim responsibility for these as I found a tutorial on a blog a long time ago for these. You can find the tutorial for the hats here on the Zaaberry blog. I just think they are so cute.

Wednesday, August 14, 2013
Homemade Pesto
I'm linking up today with Fluster Buster's Creative Muster to share how to make homemade pesto. Pesto is really simple to make because the food processor does most of the work. I'd say it takes less than 10 minutes to make. I was working in the garden this morning pruning some things back, picking tomatoes, etc. and thought I would make some pesto since our basil plant was getting a little out of control. I also pinned a recipe this morning for a pesto pasta that uses roma tomatoes and so now I've done the prep work for to make that meal next week. Also if you're interested, see this recipe for Kale Almond Pesto I posted back in the Spring.
Ingredients:
2 C (packed) fresh basil
It is really as simple as throwing all the ingredients in the food processor and blending them right up. I usually start with the basil and the pine nuts since they take a little more processing. Then I throw in the rest of the ingredients and process until well mixed.
I put my pesto in 4 oz jelly jars when I'm finished and then freeze them. This recipe will make two 4 oz jars. They should keep in the freezer for about a year but fresh in your fridge, it will probably only last 3-4 days, a week max. Here is one of my favorite pesto recipes, Chicken Sausage & Pesto Pasta. I'd love to hear what you all make with your pesto.

Friday, May 17, 2013
Baby Burp Cloths
So I know a craft project is slightly off our normal topic but I wanted to share a simple tutorial for making baby burp clothes. I have made burp clothes previously using cloth diapers and flannel fabric. But when my friend Terra had a baby a few years ago she got some really cute ones that I wanted to try to emulate.
Supplies:
Makes 2
-Burp cloth pattern
-1/4 yd printed cotton material of your choice
-1/4 yd soft backing material of your choice - flannel, chenille, etc
-Coordinating thread Icould also use contrasting)
I chose to use this pattern found on Google images. I have 2 copies of it so I can make two burp cloths at a time.
- Make sure your fabric is ironed flat then lay it out on your workspace with salvage edges together. The pattern should be placed with flat side on the fold as indicated. You should be able to fit the pattern on the 1/4 yd of fabric twice. The left side is placed on the fold of the fabric below
- Pin both pattern pieces to the fabric as shown above.
- Cut around the pattern piece to get 2 pieces of your front fabric.
- Unfold the patterned fabric pieces and lay flat on top of backing material- WRONG SIDES TOGETHER. This is important to note. Most sewing projects want you to lay the right sides together but this burp cloth is intended to have a raw edge. Pin fabric wrong sides together.
- Sew around the outside of the burp cloth allowing approximately 1/4 inch seam allowance. Since the stitches show I used a zig zag stitch but any stitch will work. I used white thread but you could use contrasting since it is going to show for an extra design element.
- Trim backing fabric to be the same size/shape as the cotton patterned fabric.
I made 3 different sets as shown above and cut pattern pieces for 3 more identical sets. I find it's easier to make a bunch at a time and keep them on hand rather than to make a couple each time you need a baby gift. I like to pair them into a set of 2 with coordinating fabrics rather than 2 of the same in each package. You can roll them up and tie them with a ribbon for a cute little present. My go to baby shower gift is usually a combination of books and something hand made.
Subscribe to:
Posts (Atom)